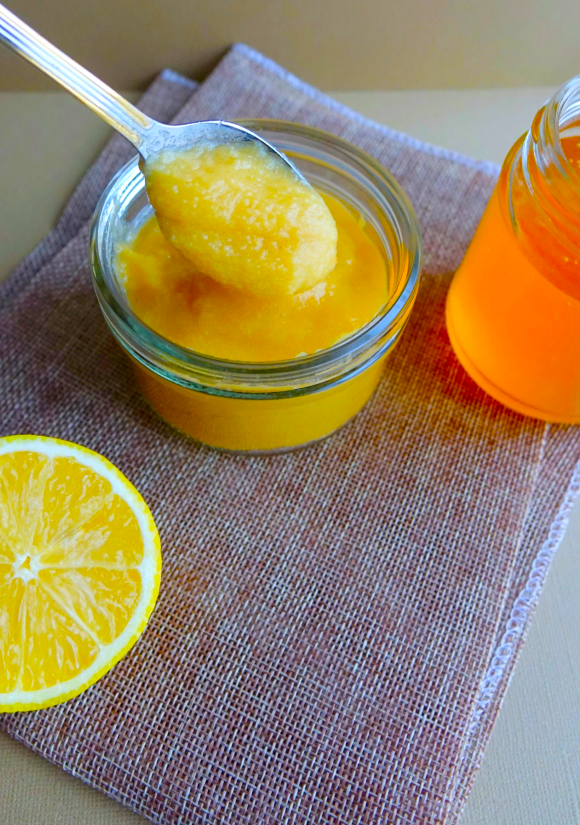
- Servings 8
- Prep 30 min
- Cooking 35 min
- Calories: 150 kcal
- Fat: 1 gm
- Carbohydrates: 35 g
- Dietary Fiber: 3 g
- Sugars: 33 g
- Protein: 1 g
- 1,5 lb. of guavas
- 300 grams of honey (adjust based on the sweetness of the guavas and your preference)
- Lemon juice of one lemon
- Two tablespoons of water (optional, depending on the juiciness of the guavas)
- Kitchen Scale
- Knife
- Cutting Board
- Spoon
- Citrus Juicer or Reamer
- Large Pot or Saucepan
- Wooden Spoon or Silicone Spatula
- Fine Mesh Strainer or Cheesecloth (optional)
- Ladle
- Canning Jars with Lids
- Funnel (optional)
- Timer or Clock
- Potato Masher (optional)
- First, thoroughly wash the guavas under cold running water to remove dirt or pesticide residue from the skin.
- Slice each guava in half using a sharp knife. Depending on your preference, you can cut guavas either crosswise or lengthwise.
- Use a small spoon, such as a teaspoon or a melon baller, to scoop the seeds from the center of each guava half. The seeds are usually in a somewhat firmer central pulp area, which can be easily distinguished from the softer, fleshier part of the fruit surrounding it.
- Check each half to ensure all seeds are removed. The seeds are tiny and can be numerous, so take your time to ensure you’ve gotten them all. This process will make your jam smoother and more pleasant to eat.
- Once the seeds are removed, you can finely chop the seedless guava flesh into small pieces, which will help it cook down faster and more evenly in your jam.
- Place the chopped guavas in a medium saucepan. Add water if the guavas aren’t very juicy. Heat the guavas over medium heat until they start to soften.
- Once the guavas have softened, add honey and lemon juice to the saucepan. Stir well to combine
- Reduce the heat to low and let the mixture simmer gently. Stir occasionally to prevent the mixture from sticking and to ensure even cooking. Cook until the guavas break down and the mixture thickens, which should take 30-45 minutes.
- Place a small amount on a cold plate to check if the jam is ready. If it gels without running, it’s set. If it’s too runny, continue cooking and testing periodically.
- Once the jam reaches your desired consistency, remove the saucepan from the heat. Carefully spoon the hot jam into a clean jar. Seal the jar while hot to help preserve the jam.
- Allow the jar to cool to room temperature. Ensure the jar is sealed correctly and store the jam in a cool, dark place. Refrigerate after opening.
- This guava jam is perfect for a quick homemade spread, ensuring freshness and reducing waste. Enjoy your freshly made guava jam on toast, as a dessert topping, or stirred into yogurt or oatmeal!
Create a burst of tropical sunshine with our easy guava jam recipe, a culinary adventure perfect for home cooks seeking authentic guava preserve flavors. Discover how to make delicious homemade guava jam, a sweet and tangy spread ideal for elevating your breakfast recipes, dessert toppings, or even as a unique guava jelly ingredient. This simple guava fruit jam guide utilizes fresh, ripe guava to produce a vibrant tropical fruit jam, a delightful exotic jam sure to impress. Learn the secrets to making small-batch guava jam and transform ordinary moments into a flavorful guava spread experience, all while exploring the rich taste of this beloved aromatic fruit preserve.
For a vegan and refined sugar-free version, use natural sweeteners like maple syrup or honey instead of white sugar. Follow a recipe specifically designed for this variation, as the ratios of ingredients may need to be adjusted.
Guava jam without preservatives like pectin can last 6-8 weeks or more in the refrigerator. For longer-term storage, sterilize jars by washing them in warm, soapy water, rinsing, and drying them thoroughly before filling them with the jam.
The setting point of guava jam can be tested using the cold plate method. Additionally, ensuring the correct ratio of sweetener and using a bit of lemon juice helps set the jam due to the natural pectin present in the fruit and acidity from the lemon.
- Preparation: Chill a plate in the freezer before making the jam.
- Testing the Jam: After boiling your jam and you think it might be ready, remove the plate from the freezer. Spoon a small amount of jam onto the cold plate.
- Observation: Tilt the plate vertically. Watch how the jam runs; if it flows very slowly or sets without running, it has reached its setting point.
- Final Test: You can also push the jam with your finger; if it wrinkles, it is ready and set correctly.
This method, deeply rooted in tradition, is beneficial because it requires no special tools or equipment, just a plate and a freezer. Many home cooks rely on this technique for making jams and jellies, ensuring the perfect consistency every time.
